Thursday, October 11, 2007

Brunch-O-melette

Brunch-O-melette

Omelette is such a comfort food, quick to make and easy to fix on lazy, starving times of day or night and most popular among bachelors/college students. Eggs are really very easy to handle specially while making omelettes, scrambled eggs, anda bhurji, half-fry, double-fry etc etc... I remember during my MBA-hostel days in Pune, we used to buy dozens of eggs and finish within a day or two consuming all at the "Anda-Party". The most wonderful thing about making omelette is you can make it plain simple or make it extravaganza by stirring any veggies, herbs, cheese and Viola! its ready within minutes.

I learned from Racheal Ray's 30 minute meals that we can do frittata by adding all our favorite veggies and cheese. Though frittata is double sided-baked omelette under the broiler. I drafted some of the ingredients from that and cooked it in a medium pan/tava. Naming my version as 'Brunch-O-melette' as this is very filling.

Brunch-O-melette

Source : My own
Cuisine: International Fusion
Prep time: 10 mins
Cooking time: 10 mins
Serves: 2 people
Ingredients:
4 Organic large eggs
2 shallots, finely chopped
2 tbsps roasted red bell pepper, finely chopped
4-5 leaves of fresh basil, chopped
2 tsp of flat leaf parsley, chopped
2 tbsp of cooked chicken, cubed (optional)
3 tbsp of half-half or whole milk
1 tsp red chilli powder/cayenne pepper
1 tbsp of grated Parmesan/sharp chedder cheese
crumbled goat cheese/feta cheese (optional for garnish)
freshly ground black pepper
salt as per taste
2 tsp oil/spray
2 whole wheat sandwich buns
Method:
  1. Chop all the veggies and keep aside. We will be working in batch, 2 eggs per person
  2. First mix salt, red chilli powder/cayenne pepper/black pepper and half-half. To this add two eggs and whisk it till the yolks are blended thoroughly.
  3. Add the shallots, red bell pepper, basil, parsley, parmesan cheese, chicken pieces, and mix well.
  4. Spray the pan/tava with oil and pour the entire content, cook on each side for 4 mins and your Bunch-O-melette is ready.
  5. Serve it with your favorite bread and garnish it with parsley and feta cheese.
  6. We had our Brunch-O-melette with a glass of 100% carrot juice.
Omelette2


My Kitchen Finds
: Bolthouse Farms 100% Carrot Juice


Botlhouse Farms refreshing 100% carrot juice

Sending this to WBB#16-Weekend breakfast blogging event: Omelette
hosted by Kanchana of Married to a Desi,
created by Nandita of Saffron Trial.

Tuesday, October 9, 2007

Baby Bok Choy Pappu ~ Lentil


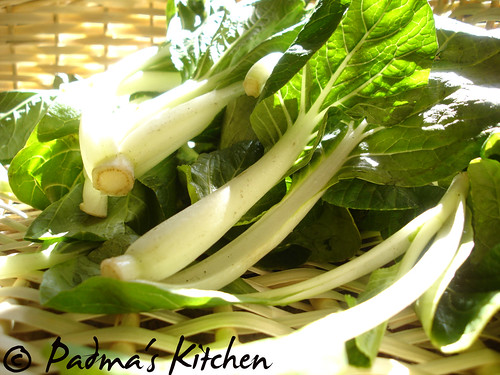
Baby bok choy

Bok choy, also known as Pak choi or Peking cabbage, forms a small but elongated head (not round like European cabbage) with plump white stalks and deep green leaves. A member of the brassica family, bok choy offers nutritional assets similar to those of other cabbages: It is rich in Vitamin C and contains significant amounts of nitrogen compounds known as indoles, as well as fiber--both of which appear to lower the risk of various forms of cancer.

Bok choy is also a good source of folate (folic acid) and potassium. And with its deep green leaves, bok choy has more beta-carotene than other cabbages, and it also supplies considerably more calcium. The stalks and leaves have quite different textures, so in culinary terms, it's like getting two vegetables for the price of one.Baby bok choy has a sweeter flavor than adult varieties. For more information on varieties, availability, storage and nutritional information click here, here, and here.

Did you know...?
1 cup of cooked bok choi contains 15% of your recommended daily allowance of calcium ~ equivalent to 1/4 pint of full fat milk.

Source: Whole health MD

Baby Bok Choy Pappu ~ Dal


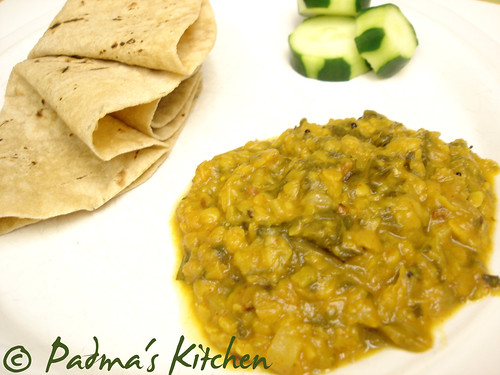
Baby bok choy pappu ~ dal with phulkas and fresh cucumber

I like adding baby bok choy in salads, stir fry's, soups, stir-fry noodles and fried rice and recently thought why not make some dal ~ pappu out of it. That way we can have our fiber intake as well as some folate too. Its a nice cross-over for leafy vegetable dal.

Source : My own
Cuisine: Fusion

Prep time: 7 mins
Cooking time: 20 mins
Serves: 4 people
Ingredients:
1 cup toor dal/red gram lentil
5-6 stalks baby bok choy, trim the tough ends
1/2 red onion, sliced
3-4 green chillies, sliced
1/2 tsp turmeric powder/haldi/pasupu
1 tsp red chilli powder/cayenne pepper
1 tsp cumin seeds/jeera
2 tsp tamarind pulp
for tempering/tadka/poppu:
1 tsp mustard seeds
1 tsp urad dal/black gram lentil
2-3 dried whole red chillies
2-3 garlic cloves, finely chopped
few curry leaves
a pinch of hing/asafeotida
Salt as per taste
1tbsp oil
Method:

  1. Chop coarsely bok choy and pressure cook them with toor dal/lentils along with turmeric powder, onions, green chillies, cumin seeds and chilli powder. Cook upto 3-4 whistles. Add tamarind pulp, salt to it and mash the contents.
  2. In a deep pan heat oil, add mustard seeds, let it splutter then add urad dal/black gram lentil, curry leaves, torn red chillies, garlic and fry for a min. Add hing/asafeotida and pour the entire mashed bok choy dal and mix well. Let it simmer for 2 more mins.
  3. Serve hot with plain rice or rotis /Indian flat bread.

Note: Use of salt should be limited while cooking this dal as bok choy already is little salty in nature. Thats what I found out while cooking with it.

Sunday, October 7, 2007

Amish Friendship Zucchini Bread

Amish Friendship Zucchini Bread

I was thrilled to open my packet of Amish Friendship Bread Starter, received from Laavanya. I quickly opened it to check the content and was little scared about the gooey-creamy like thing. This starter has to be nourished while left for fermenting for 9 days, and we bake it on the 10th day or freeze it and save for later. I received my starter on Day 3

On days 2 through 5, just mash the bag and remove excess air, if any.
On day 6 stir in 1 cup each sugar, flour and milk, mash the bag.
On days 7 through 9, mash the bag.
On day 10 stir in 1 1/2 cup each of flour, milk, sugar. Mix well and distribute 4 cups equally. Keep 1 cup of starter for myself and share the other 3 with friends.


After much research on AFBS, I came to know that cooks have been baking with starters for thousands of years. Sometime back before the ancient Egyptians, however, bakers learned that if they captured airborne wild yeast and fed and nurtured it properly, they could produce an endless array of breads, cakes, pancakes, biscuits, scones, muffins, rolls, all light and fluffy and made possible by the hard-working little fungi (yeast). Article Source: Texas Cooking

This is the first time I am trying my hands on baking bread and decided to bake a more traditional bread than something like cake/muffins/rolls/buns. This way I can teach myself to handle more of tough bakes. I brought some books on baking from local library and found this very nice and interesting recipe for Zucchini bread.

I used coarsely grated zucchini shreds which offers color and just-perceptible contrast of texture to the bread. Because it is exceptionally moist, zucchini must be salted and squeezed to rid of it excess liquid before it is mixed with the flour, starter and water. It took me two days to make this bread and learned some new techniques in baking. Like overnight standing ~ to raise and humidified baking with boiling water in the bottom to ensure crunchy bottom crust.

My first bread baking session

Zucchini Bread

Source : Breads, Time-life books
Cuisine: International

Prep time: 10 mins and left overnight to rise
Cooking time: 40 mins
Makes: 7-inch cylindrical loaf

Ingredients:
2 1/2 cups flour
1/2 cup amish friendship bread starter
2 zucchini, medium-size, washed ends trimmed off
1 tbsp salt
3/4 cup tepid/warm water
olive oil or 1 egg yolk beaten
Method:

1. Coarsely grated zucchini into a deep wide bowl. When the zucchini gratings cover the bottom of the bowl, sprinkle them with salt. Grate in another layer of zucchini and sprinkle again with salt. Repeat alternate layers if zucchini and sprinkle again with salt. Leave it for 30 mins so that the salt will draw out the excess moisture. Then press out the moisture by squeezing the zucchini in your hands.

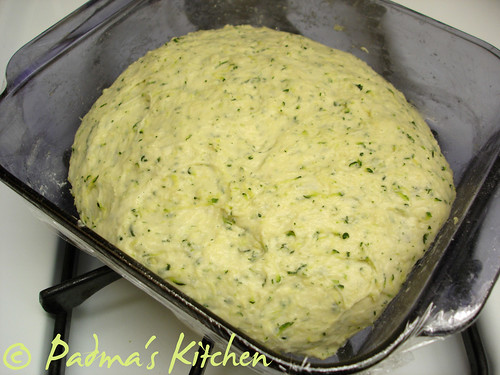
waiting to Rise!!!

2. In another bowl combine the starter, flour, salt and thoroughly mix zucchini, add enough tepid water to make a smooth but fairly firm dough. Knead the dough well for about 10 mins. Return it to the bowl, cover it with a damp cloth towel or plastic wrap and let the dough rise for about 2 hours.
Knead the dough into a loose round, then shape it into a tapered cylindrical loaf. Lay it on a buttered baking sheet, cover it with a towel and let it rise in a warm place until doubled in bulk or left overnight.

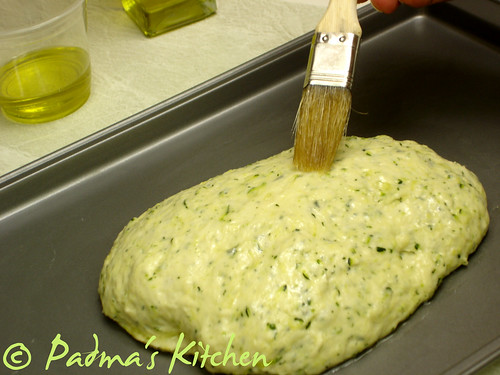
brushing olive oil to prevent zucchini from burning!


3. Just before baking, brush the loaf with olive oil or egg yolk to prevent the pieces of zucchini on the surface from burning. Preheat the oven to 425, place a roasting pan filled with 1 1/2 inch of boiling water in the bottom of your oven. Bake the bread in a humidified 425 degrees F for about 40 minutes, until the bottom sounds hollow when rapped, while checking the water in roasting pan every 10 mins. Cool the loaf on a wire rack.

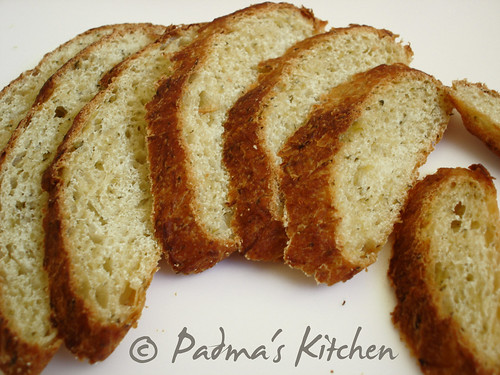
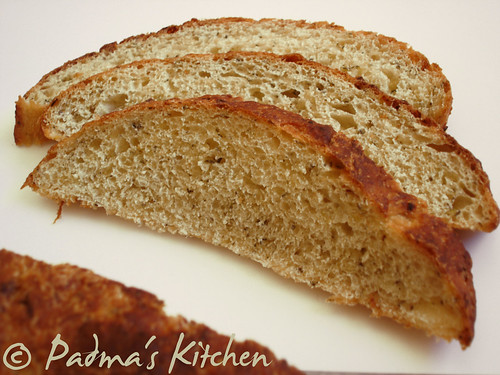
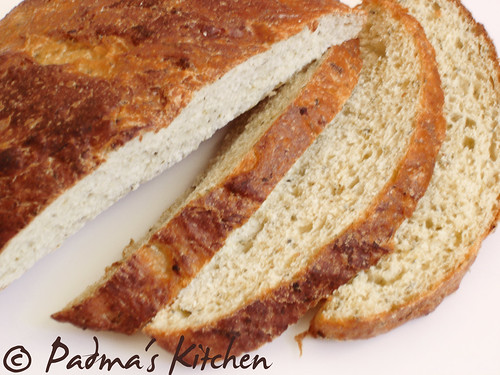
Zucchini bread slices

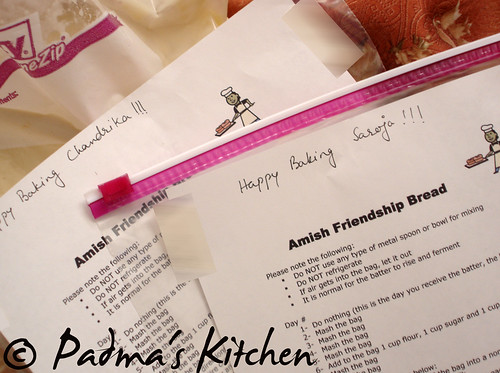
I am sending this starter to two of my dear friends Chandrika and Saroja to keep the tradition. Hope you guys will enjoy baking with it, as well!


starters dispatched, let me know when they arrive!


Thursday, October 4, 2007

Egg Portfolio !!!


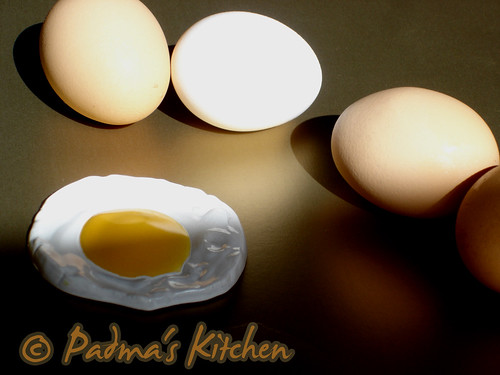
When Bee & Jai announced about the Click event and this month's theme Eggs. I started visualizing eggs in every form and shape and how to capture their beauty. These snaps are my sincere efforts to bring out the very best snaps captured under the naked sun!

Egg-centric is the right word for this event post as you see I was revolving round the eggs for quiet a some time to capture those beauties!

Being a budding photographer and photoshop learner, here are my contributions for this event. I used sunny side egg magnet as props along with Raw Eggs to enhance the beauty of egg in all the photos, I hope this qualifies my entry.

First snaps under the sun, here I used gold dusted paper in the background to capture the colorful reflection of the eggs.


Cooling Buddies!


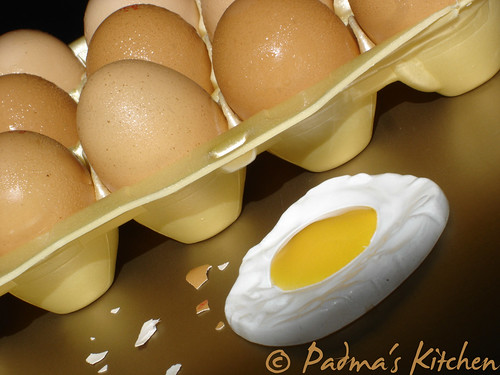
Same photo as above but I flipped the image and used a different shade,
also note the original color of egg shells peels are captured here!


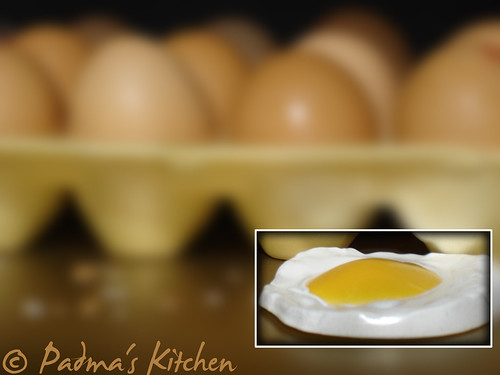
Another photoshop trick to blur the background image and highlight the main object


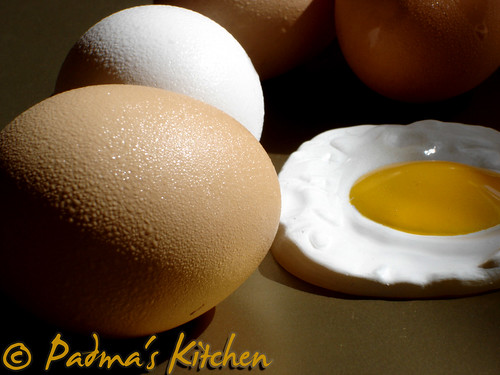
I wanted to capture the dew drops formed on a cold egg
clicked at room temperature ~
Event Photo


It was tough!! to choose a photo to send for this event. Let me know which one you liked the most among the above pictures.

Camera: Sony Cybershot 5.1 mega pixels with smart zoom.

Click on the images to view an enlarged original photo and if interested to check in for more variations click here


Monday, October 1, 2007

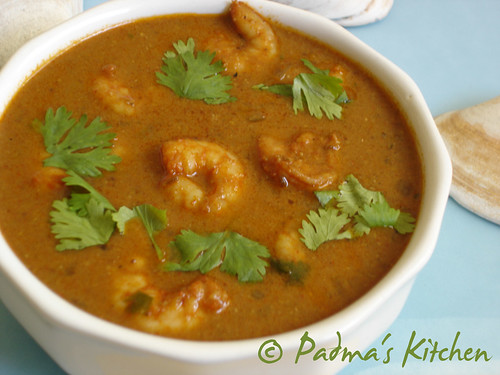
My Style Shrimp Curry


Shrimp tops everyone's list when questioned about one's favorite seafood. Shrimps are also known as 'Royellu in Telugu', Zinga or Kolambi in Marathi'. Dried shrimp is commonly used in Andhra and Maharashtrian cuisines frequently and they taste great with eggs, bottle gourd, ridge gourd and eggplants. Being living in coastal cities like Mumbai (Bombay) and Visakhapatnam, got a chance to try all varieties of seafood readily available fresh out of fisherman's net.

I remember in Mumbai when the early morning local train reaches its destination the Machiwala's (fisherman also called a Kolis) rushes out of the luggage compartment with big baskets of fresh fish to the local markets. Early hours also means very busy hours in the streets of Mumbai while I used to catch the 7:53 am Kalyan start fast Local train to go to Kurla for my work. I used to hear "Machi pani ...Machi pani" in distance when these Kolis (fishermen) used to carry the fish-loads with fishy water dripping. They shout and warn pedestrians about the fishy water that drips and we all use to give way for them.

Gosh! those fishy, smelly memories of Mumbai...... I feel Mumbaites reading this might relate it in some way or the other. Well moving on to the recipe... prawns are very easy to handle in the kitchen but they can be disastrous if overcooked. They will turn out real rubbery and hard to chew on. This curry is my isshtyle recipe for shrimps which is so juicy to taste, delectable and enticing ever, Enjoy my version of this recipe!

Click here to read on how to clean shrimp (video) and for more nutritional info on shrimps click here

Source : My own
Cuisine: Andhra, South Indian

Prep time: 10 mins
Cooking time: 25 mins
Makes: 4 people
Ingredients:
1 pound of devined shrimps
1 large red onion, finely chopped
1 large ripe plum tomato, finely chopped
3-4 green chillies, finely chopped
1 tsp red chilli powder, cayenne pepper
½ tsp turmeric powder/haldi
2 tbsps coconut milk

few curry leaves
salt as per taste
1 tbsp cooking oil
roast and grind into smooth paste:
1" stick of cinnamon
2 cloves
½ tsp poppy seeds/khus khus
2 tsp grated coconut (fresh or dried)
2 cloves of garlic
small piece of ginger (optional)
2 dried red chillies
1 tsp of cumin seeds/jeera
1 tsp of coriander seeds/dhaniya
Method:
  1. Clean the shrimps as shown in the above links or you can buy cleaned ones. Marinate them with salt and chilli powder, keep covered in fridge for 15 mins.
  2. Meanwhile heat oil in a kadai and fry onions for few mins until pink and translucent. Add little bit of salt to sweat the onions and then add green chillies, tomatoes and fry for another 10 mins or so till the tomatoes are soft.
  3. Once all the ingredients turn soft add turmeric powder and the prepared paste.
  4. Fry till the raw smell of the paste goes off. Add the coconut milk and stir in the shrimps. Let it to cook for 5 mins approx.
  5. You will know they are cooked when shrimps curl into small circles, immediately turn off the heat you don't want to overcook them and end up eating the stubborn shrimps.
  6. Serve hot with rice or rotis, Indian bread.


Related Posts with Thumbnails